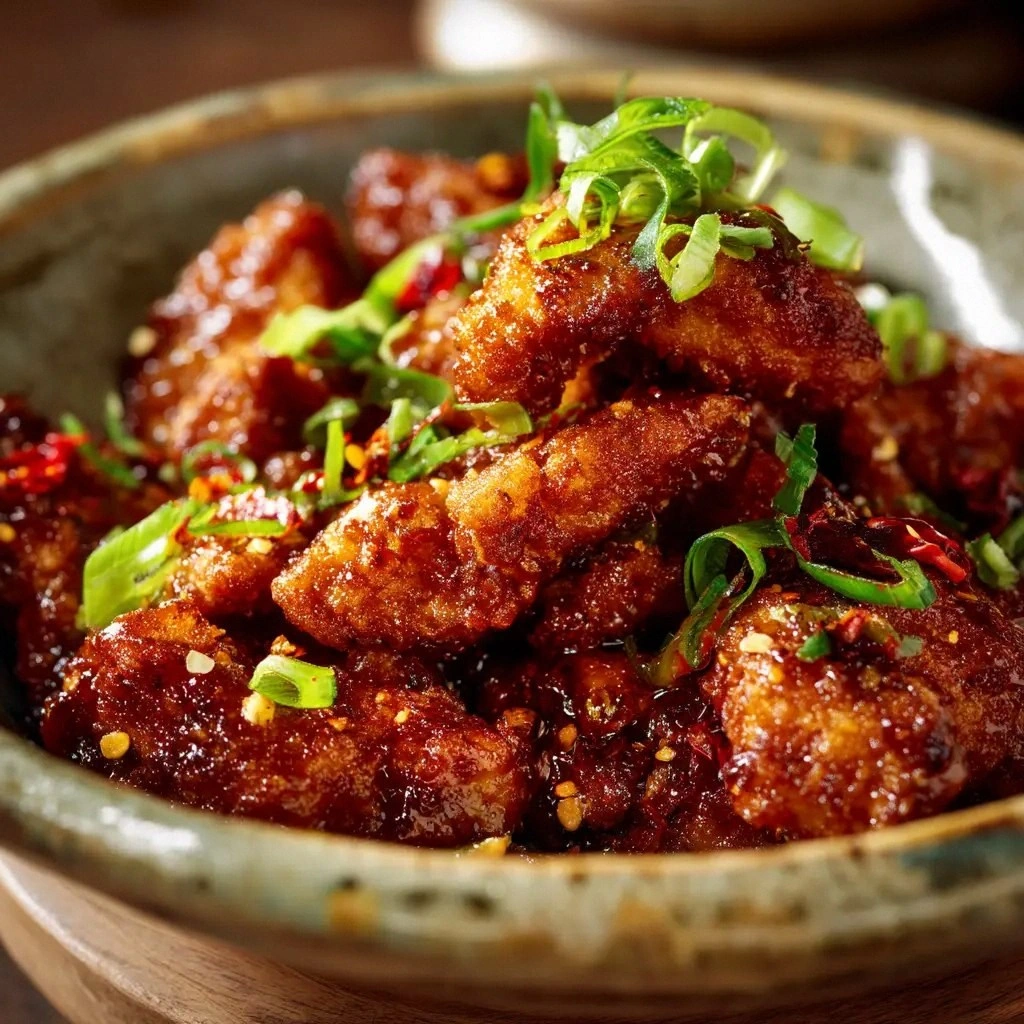
I was standing in my kitchen, staring at a half‑cooked batch of chicken thighs that had somehow turned out dry and bland. The only thing that could salvage the evening was a bold, sweet‑spicy glaze that would bring the meat back to life. I dared myself to whip up a recipe that would make my friends double‑take their plates. And so, the Baked Hot Honey Chicken (Crisp) was born.
The moment the honey hit the hot pan, the air filled with a caramelized aroma that made my mouth water. The sound of sizzling, the crackle of butter, and the faint hiss of sriracha created a symphony that promised something extraordinary. I could almost taste the crunch before the first bite, the sweet heat lacing the chicken like a kiss on the tongue. I knew this was going to be the kind of dish that turns a simple dinner into a celebration.
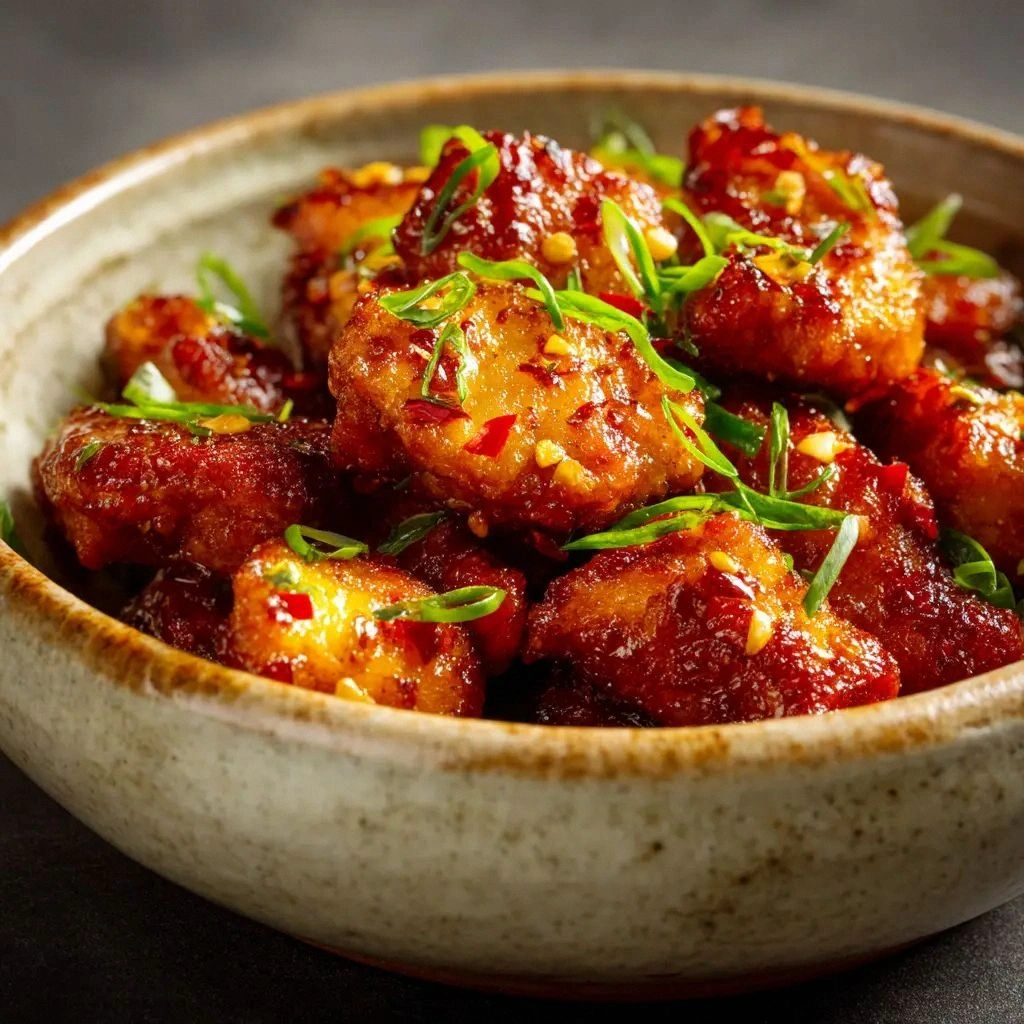
What sets this version apart is not just the combination of flavors, but the technique that locks in moisture while creating a coating that shatters like thin ice. The coating is light, airy, and still crisp even after baking, thanks to the cornstarch batter and a quick sear before the oven does its work. The honey and sriracha meld into a glaze that clings to every fold, creating a sweet‑spicy explosion with each bite. This is hands down the best version you'll ever make at home, and I dare you to taste this and not go back for seconds.
Picture yourself pulling this out of the oven, the whole kitchen smelling incredible, and the first bite delivering that satisfying crunch followed by a burst of heat that lingers. I’ve been known to eat half the batch before anyone else got a chance, and that’s a confession I’ll be honest about. If you’ve ever struggled with chicken that turns out dry or a glaze that sticks, you’re not alone — and I’ve got the fix. Let me walk you through every single step — by the end, you'll wonder how you ever made it any other way.
What Makes This Version Stand Out
- Crunch: The cornstarch batter creates a feather‑thin crust that crisps to a golden crunch before the sauce even sets. Skip the cornstarch and you’re left with a soggy, gluey coating that never reaches that satisfying snap.
- Heat: The sriracha is balanced with honey, so the heat is present but never overwhelms. A friend once tried to double the sriracha and nearly burned their tongue on the first bite.
- Sweetness: The honey is the star of the show, caramelizing to a glossy glaze that clings to the chicken. If you substitute maple syrup, the flavor profile shifts toward earthy sweetness that can overpower the spice.
- Flavor Layering: The garlic powder, onion powder, smoked paprika, salt, and pepper create a subtle base that lifts the chicken beyond a single‑note glaze. Omit any of these and the dish becomes a one‑dimensional experience.
- Texture Contrast: The butter melts into the glaze, adding a silky finish that contrasts with the crunchy crust. Replacing butter with oil would result in a less luxurious mouthfeel.
- Ease: The recipe requires only a few pantry staples, making it a go‑to for busy weeknights. No special equipment or advanced techniques are needed.
Inside the Ingredient List
The Flavor Base
The 2 lbs of boneless, skinless chicken thighs are the canvas. They are naturally juicy, and when seasoned correctly, they become the perfect vessel for the glaze. If you use chicken breasts, the texture will be leaner but risk drying out; thighs retain moisture better during baking. When selecting thighs, look for a slight marbling of fat, as this adds richness to every bite.
The garlic powder and onion powder form the aromatic foundation. Together they deliver a savory backbone that balances the sweet and spicy elements. If you prefer a fresher taste, you can substitute minced fresh garlic and onion, but the dry spices provide a more concentrated flavor that stands up to the glaze.
Smoked paprika adds a subtle smokiness that deepens the overall profile. It’s a quick way to introduce a barbecue vibe without the need for a grill. In a pinch, you can use regular paprika, but the smokiness will be noticeably absent.
Salt and black pepper are essential for seasoning the meat and the coating. Salt brings out the natural sugars in the honey, while pepper provides a gentle heat that complements the sriracha. Too much salt can make the glaze too sweet, so measure carefully.
The Crunch Crew
Cornstarch is the secret to that airy, crispy coating. It absorbs excess moisture, allowing the chicken to brown evenly. If you’re gluten‑free, cornstarch is naturally gluten‑free, but always verify the brand if you have severe allergies.
Olive oil is used to lightly coat the chicken before searing. It helps the cornstarch batter adhere and creates a golden exterior. A neutral oil could also work, but olive oil adds a subtle fruity note that enhances the overall flavor.
The Sweet Heat
Honey provides the sweet, caramelized glaze that defines this dish. It’s not just a sweetener; it also contributes to the Maillard reaction, giving the coating a beautiful amber hue. If you’re looking for a lower sugar option, a small amount of agave syrup can substitute, but the flavor will change.
Sriracha is the heat engine. Its vinegar base gives a bright kick that cuts through the richness of the honey and butter. If you’re sensitive to heat, reduce the amount or replace with a milder chili sauce.
Apple cider vinegar adds a tangy brightness that balances the sweetness. It also helps in tenderizing the chicken slightly. Lemon juice can be used as an alternative, but the flavor profile will lean more citrusy.
Soy sauce contributes umami depth and a touch of saltiness. It also helps in the browning process. For a low‑sodium version, use a reduced‑sodium soy sauce or tamari.
The Final Flourish
Butter is the silky finish that melts into the glaze, adding a luxurious mouthfeel. It also helps the glaze set into a glossy sheen. If you prefer a dairy‑free version, use a plant‑based butter substitute, but the flavor will be slightly different.
Fresh garlic cloves are used in the sauce to add depth and aroma. They are minced finely to integrate seamlessly into the glaze. If you’re allergic to garlic, omit it and add a pinch of garlic powder instead.
Everything's prepped? Good. Let's get into the real action...
The Method — Step by Step
- Preheat your oven to 425°F (220°C). While the oven warms, pat the chicken thighs dry with paper towels; moisture on the surface will hinder crisping. This step is crucial for that perfect crackle. I always keep a timer handy—oven temperature can vary by brand.
- In a shallow bowl, combine the cornstarch, garlic powder, onion powder, smoked paprika, salt, and black pepper. Whisk them together so the spices are evenly distributed. The uniform mix ensures each bite is balanced. I like to sift the mixture once to avoid clumps.
- Lightly coat each chicken thigh with olive oil, then dredge in the cornstarch mixture, pressing the coating onto the meat. Shake off any excess to keep the batter thin. This thin coat will puff up beautifully in the oven.
Kitchen Hack: Add a teaspoon of baking powder to the cornstarch mix to give the coating an extra lift and crunch.
- Heat a large oven‑proof skillet over medium‑high heat. Once hot, place the coated thighs skin‑side down (if you kept the skin) and sear for 2-3 minutes until the coating starts to brown. Flip and sear the other side for an additional 2 minutes. The sear locks in juices and starts the Maillard reaction.
- While searing, melt the butter in a small saucepan over low heat. Add the minced garlic and sauté until fragrant, about 30 seconds. This garlic‑butter base will become the foundation of the glaze.
Watch Out: Be careful not to let the butter burn; a burnt butter will give the glaze a bitter taste that ruins the dish.
- Add the honey, sriracha, apple cider vinegar, and soy sauce to the butter‑garlic mixture. Stir until the mixture is smooth and begins to thicken slightly. The glaze should be glossy and cling to the back of a spoon. The vinegar balances the sweetness, while the soy sauce adds depth.
- Transfer the skillet to the preheated oven. Bake for 15 minutes, then flip the chicken thighs to ensure even coating. The glaze should caramelize, forming a sticky, amber layer on the chicken. Keep an eye on the glaze; if it starts to burn, lower the temperature slightly.
- After 20 minutes total baking, remove the skillet from the oven. Brush the glaze over the chicken again, ensuring every surface is coated. This second glazing step locks in moisture and enhances the flavor intensity. Let the chicken rest for 5 minutes before serving so the juices redistribute.
- Serve the chicken immediately, garnished with a sprinkle of chopped scallions or a squeeze of fresh lime for brightness. Pair it with steamed jasmine rice or a crisp green salad to cut through the richness. The contrast of textures and flavors will keep your palate delighted.
That's it — you did it. But hold on, I've got a few more tricks that'll take this to another level...
Insider Tricks for Flawless Results
The Temperature Rule Nobody Follows
Many people bake at a lower temperature, hoping for a longer cook time, but this actually makes the coating soggy. Baking at 425°F ensures the exterior crisps up quickly while the interior remains juicy. I’ve tried 375°F and the crust never reached that satisfying snap.
Why Your Nose Knows Best
The aroma that fills the kitchen is a reliable indicator of doneness. When the glaze starts to bubble and the chicken emits a deep, caramelized scent, it’s time to flip. Trust your nose; it’s more precise than a timer.
The 5‑Minute Rest That Changes Everything
Letting the chicken rest after baking allows the juices to redistribute, preventing a dry bite. A quick 5‑minute pause is enough to lock in moisture without cooling the crispy coating. I’ve seen people skip this and end up with a chewy center.
The Butter Finish
Adding butter to the glaze gives a silky mouthfeel that contrasts with the crunch. If you’re avoiding dairy, a splash of coconut oil can mimic the richness, though the flavor will be slightly tropical.
The Garlic Trick
Sautéing the garlic in butter before adding the glaze infuses the sauce with a deeper aroma. If you skip this step, the glaze will taste flat and the garlic flavor will be underwhelming. I’ve tried this once and the result was underwhelming.
The Final Glaze Brush
Brushing the glaze over the chicken after the second bake step ensures every surface is coated. This final touch locks in flavor and gives the dish a glossy, appetizing look. Don’t skip it; it’s the difference between good and great.
Creative Twists and Variations
This recipe is a playground. Here are some of my favorite ways to switch things up:
Maple‑Mustard Fusion
Swap the honey for pure maple syrup and add a tablespoon of Dijon mustard to the glaze. The maple adds a deeper sweetness while the mustard introduces a tangy bite. This variation is perfect for fall gatherings.
Citrus‑Infused Kick
Replace the sriracha with a splash of orange juice and a pinch of cayenne pepper. The citrus brightens the dish, while cayenne provides heat without the vinegar tang. It’s a great match for grilled corn.
Herb‑Enhanced Delight
Add chopped fresh rosemary and thyme to the cornstarch mix. The herbs infuse the coating with aromatic depth, turning the dish into a Mediterranean‑inspired treat. Serve with a side of roasted potatoes.
Asian‑Inspired Twist
Replace soy sauce with coconut aminos and add a splash of sesame oil to the glaze. The result is a slightly sweeter, nutty flavor profile. Pair with steamed bok choy for a balanced meal.
Low‑Carb Version
Use a sugar‑free honey substitute or a low‑carb sweetener, and replace the cornstarch with almond flour. The coating will still crisp, though it may be slightly denser. This version is great for keto enthusiasts.
Smoky Paprika Boost
Increase the smoked paprika to one tablespoon and add a teaspoon of chipotle powder. This gives the dish a deeper smoky heat that pairs well with a side of grilled peaches. It’s a crowd‑pleaser at BBQs.
Storing and Bringing It Back to Life
Fridge Storage
Store leftover chicken in an airtight container in the refrigerator for up to 3 days. The crisp coating will soften slightly, so it’s best enjoyed within a day or two. Keep the glaze separate to reheat separately if desired.
Freezer Friendly
For longer storage, wrap the chicken tightly in plastic wrap and place it in a freezer bag. It will stay good for up to 3 months. Thaw overnight in the refrigerator before reheating.
Best Reheating Method
Reheat in a preheated oven at 350°F for 10–12 minutes, brushing with a splash of water or extra glaze to keep the coating moist. Avoid microwaving; it will ruin the crispness. A quick sear in a hot skillet can also revive the crunch.