High Protein Cheesecake
It started on a rainy Sunday afternoon when I was trying to rescue a batch of overbaked cookies that had turned into a soggy, flavorless mess. I was desperate for something sweet, high in protein, and quick to pull together. That desperation turned into a revelation: a cheesecake that packs a protein punch yet feels like a cloud of indulgence. I dared myself to taste this and not go back for seconds, and the moment the first bite hit, I was hooked.
Picture the kitchen: the oven preheating to a warm amber glow, the air thick with the scent of toasted graham crackers, a faint citrus tang from lemon, and the sweet promise of vanilla. The texture is a silky dream, with the crust crackling like fine sand underfoot, while the filling glistens like a polished marble slab. The sound of the batter swirling, the gentle hiss of the oven, the faint clink of a spoon against a silicone pan—each element sings in harmony. I could almost taste the buttery undertones and the creamy ricotta melt into a velvety finish.
This version stands apart because it balances flavor, texture, and nutrition without compromise. It’s not just a cheesecake; it’s a protein-packed dessert that can double as a post-workout treat. The base is crisp but not crunchy, the filling is smooth yet firm enough to slice cleanly, and the finish is a subtle citrus lift that cuts through the richness. Most recipes get this completely wrong—crusts that burn, fillings that crack, or flavors that are too bland. Here, everything works together like a well-rehearsed orchestra.
What’s the secret? It’s a blend of classic cheesecake elements and modern protein science, using ricotta and Greek yogurt to keep the dairy content low while adding a creamy texture. The protein powder is folded in just enough to boost the protein count without altering the mouthfeel. A dash of lemon juice brightens the entire dish, and the vanilla extract grounds the sweetness. Let me walk you through every single step—by the end, you’ll wonder how you ever made it any other way.
What Makes This Version Stand Out
- Taste: The combination of ricotta and Greek yogurt creates a mild, slightly tangy flavor that is both comforting and sophisticated. The vanilla and lemon lift the palate, providing a subtle brightness that counters the richness of the dairy. The result is a cheesecake that feels indulgent without being cloying.
- Texture: The crust is buttery and slightly crunchy, while the filling is silky smooth, almost like a mousse, yet firm enough to hold its shape when sliced. The protein powder is incorporated in a way that keeps the batter cohesive, preventing a grainy or chalky finish.
- Simplicity: Only a handful of ingredients, all of which you probably already have at home. No need for fancy molds or exotic spices—just trust the process and the measurements.
- Uniqueness: By using a blend of ricotta, Greek yogurt, and protein powder, this cheesecake delivers a protein content that rivals a post-workout shake. It’s a dessert that supports muscle recovery while satisfying sweet cravings.
- Crowd Reaction: Friends who were skeptical about protein desserts were blown away. One even admitted she had never tasted a cheesecake that could double as a snack. The reaction is almost always “wow, that’s delicious!”
- Ingredient Quality: The recipe relies on high-quality dairy and protein powder, ensuring a clean flavor profile. Using part-skim ricotta keeps the fat content moderate while preserving the creamy texture.
- Cooking Method: The use of a water bath keeps the cheesecake from cracking, while the baking temperature is low enough to allow gentle setting without overcooking.
- Make-Ahead Potential: This cheesecake can be assembled and baked, then chilled for up to 48 hours. The flavors deepen, and the texture improves, making it a perfect make-ahead dessert for parties.
Inside the Ingredient List
The Flavor Base
The graham cracker crumbs form the foundation of this cheesecake. They give the crust a subtle sweetness and a pleasant crunch that contrasts the smooth filling. If you skip them, the crust becomes bland and lacks structure. For a gluten-free version, use a gluten-free cracker blend and ensure it’s finely ground.
Fresh lemon juice adds a bright acidity that cuts through the richness of the dairy. It also helps to keep the cheesecake from becoming too dense. A pinch of lemon zest can amplify the citrus flavor without overpowering the other notes.
The Texture Crew
Part-skim ricotta cheese is the star of the show, offering a creamy base that’s lower in fat than traditional cream cheese. Its mild flavor allows the vanilla and lemon to shine. If you can’t find ricotta, a blend of Greek yogurt and a small amount of cream cheese works as a substitute, but the texture will be slightly different.
Plain Greek yogurt adds thickness and a subtle tang. It also helps to stabilize the mixture, preventing cracks during baking. If you prefer a smoother texture, whisk the yogurt until it’s silky before adding it to the batter.
The Unexpected Star
Protein powder is the secret weapon that turns this cheesecake into a post-workout treat. I use a vanilla or plain protein powder, but you can experiment with chocolate for a different flavor profile. The protein powder also contributes to the firmness of the filling, making it easier to slice.
When adding protein powder, be sure to sift it first to avoid lumps. This ensures a silky smooth batter that doesn’t have a gritty texture. If you’re using a flavored protein powder, consider reducing the vanilla extract to balance the sweetness.
The Final Flourish
Sweetener of choice—whether it’s a sugar substitute, honey, or maple syrup—provides the necessary sweetness without adding excess calories. Adjust the amount to taste, but remember that too much liquid can affect the set of the cheesecake. A tablespoon of fresh lemon juice not only brightens the flavor but also helps to emulsify the mixture.
Pure vanilla extract and a pinch of salt are the finishing touches that round out the flavor. The vanilla adds depth, while the salt enhances the overall taste and balances the sweetness. If you’re sensitive to sodium, you can reduce the salt to 0.1 teaspoon.
Everything's prepped? Good. Let's get into the real action...
The Method — Step by Step
- Preheat the oven to 325°F (165°C). Line a 9-inch springform pan with parchment paper and lightly oil the paper. This prevents sticking and gives you a clean release when the cheesecake is done.
- Prepare the crust by mixing graham cracker crumbs with melted coconut oil and a tablespoon of sweetener. Stir until the crumbs are evenly coated and form a cohesive crumb mixture. Press the mixture into the bottom of the pan, using a flat glass to create an even layer. Chill the crust in the refrigerator for 15 minutes to set.
- Blend the filling by combining ricotta, Greek yogurt, protein powder, and vanilla extract in a high-speed blender. Blend until the mixture is completely smooth—this eliminates lumps and ensures a silky texture. Kitchen Hack: Use a small whisk instead of a blender if you prefer a more hands-on approach; just whisk until smooth.
- Incorporate the liquids by slowly adding lemon juice and Greek yogurt to the blender, stirring continuously. The lemon juice brightens the flavor and helps the batter set properly. Keep the mixture smooth and glossy.
- Watch out: When adding the egg, do so slowly and whisk vigorously. The egg binds the mixture but can also cause the batter to curdle if not mixed properly. If you notice any lumps, run the batter through a fine-mesh sieve.
- Combine crust and filling by pouring the batter over the chilled crust, smoothing the top with a spatula. Ensure there are no air pockets by tapping the pan gently on the counter.
- Set up the water bath by placing the filled pan in a larger baking dish and adding hot water until it reaches halfway up the sides of the cheesecake. This gentle environment prevents cracks and ensures even cooking.
- Bake for 45 minutes, or until the edges are set and the center still has a slight wobble. The top should develop a light golden hue. Avoid overbaking, as this will dry out the cheesecake.
- Cool the cheesecake in the oven with the door slightly ajar for 1 hour. This gradual cooling prevents the surface from cracking due to temperature shock.
- Refrigerate for at least 4 hours, preferably overnight. The cheesecake will firm up, making it easier to slice and enhancing the flavors.
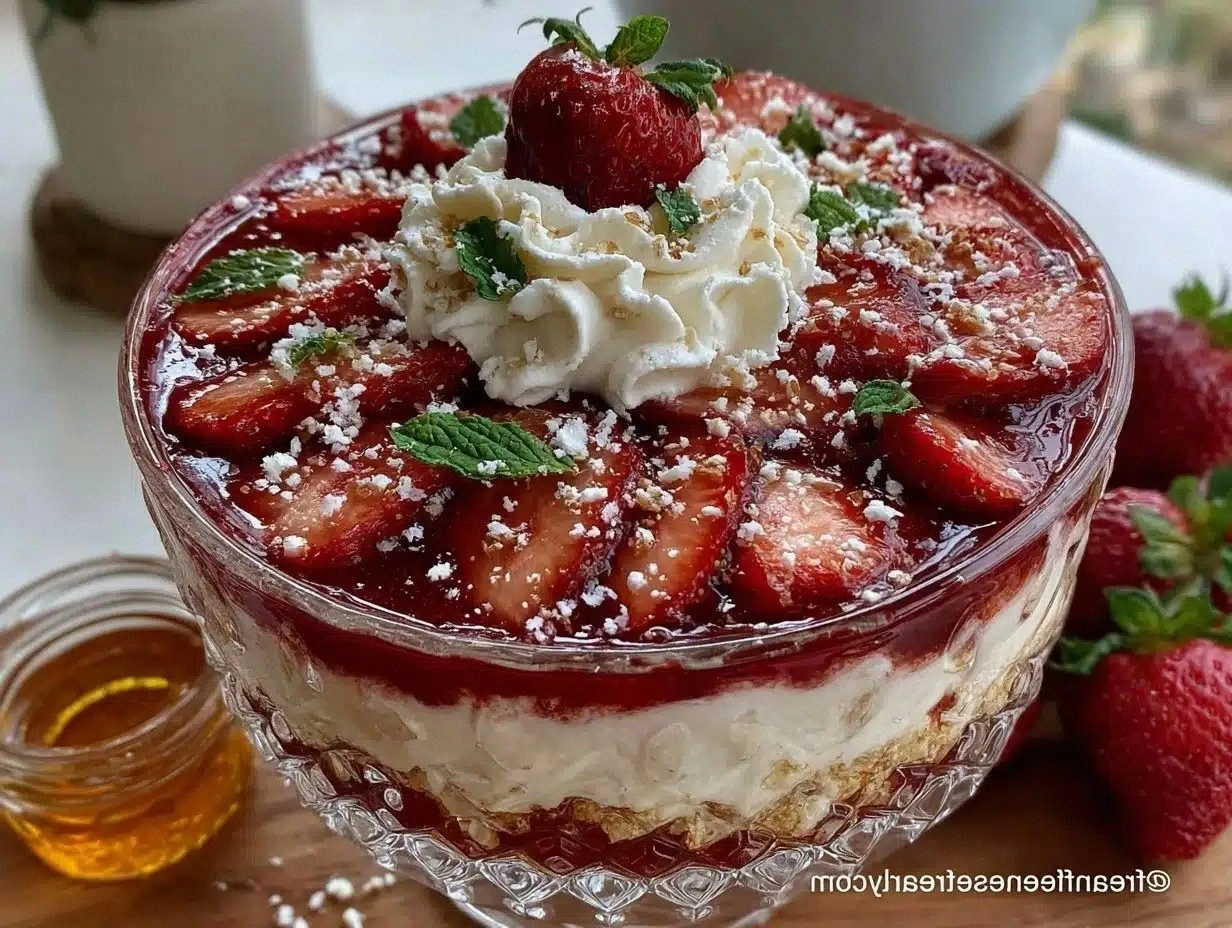
- Serve chilled, optionally topped with fresh berries or a drizzle of dark chocolate. The contrast of textures and flavors elevates the dessert to a gourmet experience.
That's it — you did it. But hold on, I've got a few more tricks that'll take this to another level...
Insider Tricks for Flawless Results
The Temperature Rule Nobody Follows
Many bakers bake cheesecakes at 350°F, but that high heat often causes the surface to brown too quickly while the center remains undercooked. Lowering the temperature to 325°F allows the cheesecake to set evenly. If you’re using a larger pan, consider dropping the temperature to 300°F for an even gentler bake.
Why Your Nose Knows Best
Before you remove the cheesecake from the oven, give it a quick sniff. A faint, sweet aroma is a sign of proper baking; if you smell a burnt or metallic scent, it’s time to pull it out earlier. Your nose is a reliable judge of doneness.
The 5-Minute Rest That Changes Everything
After baking, leave the cheesecake in the oven with the door slightly open for 5 minutes. This step allows the steam to escape gradually, preventing condensation that can make the top soggy. It also gives the filling a chance to set more firmly.
Use a Silicone Ring for Even Thickness
Placing a silicone ring around the edge of the pan keeps the cheesecake at a uniform thickness, which translates to even baking. It also creates a clean rim that’s easy to remove once the cheesecake is chilled.
Keep the Batter Smooth
Even a tiny lump can ruin the silky texture of the filling. Use a high-speed blender or a fine-mesh sieve to ensure the batter is completely smooth. If you’re whisking by hand, do so over a pot of warm water to help the mixture emulsify.
Adjust Sweetener to Taste
Because the recipe uses a sweetener of choice, you can experiment with different options. For a lower-calorie version, use stevia or erythritol; for a richer flavor, try honey or maple syrup. Adjust the amount based on your preference, but remember that liquid sweeteners can affect the set.
Creative Twists and Variations
This recipe is a playground. Here are some of my favorite ways to switch things up:
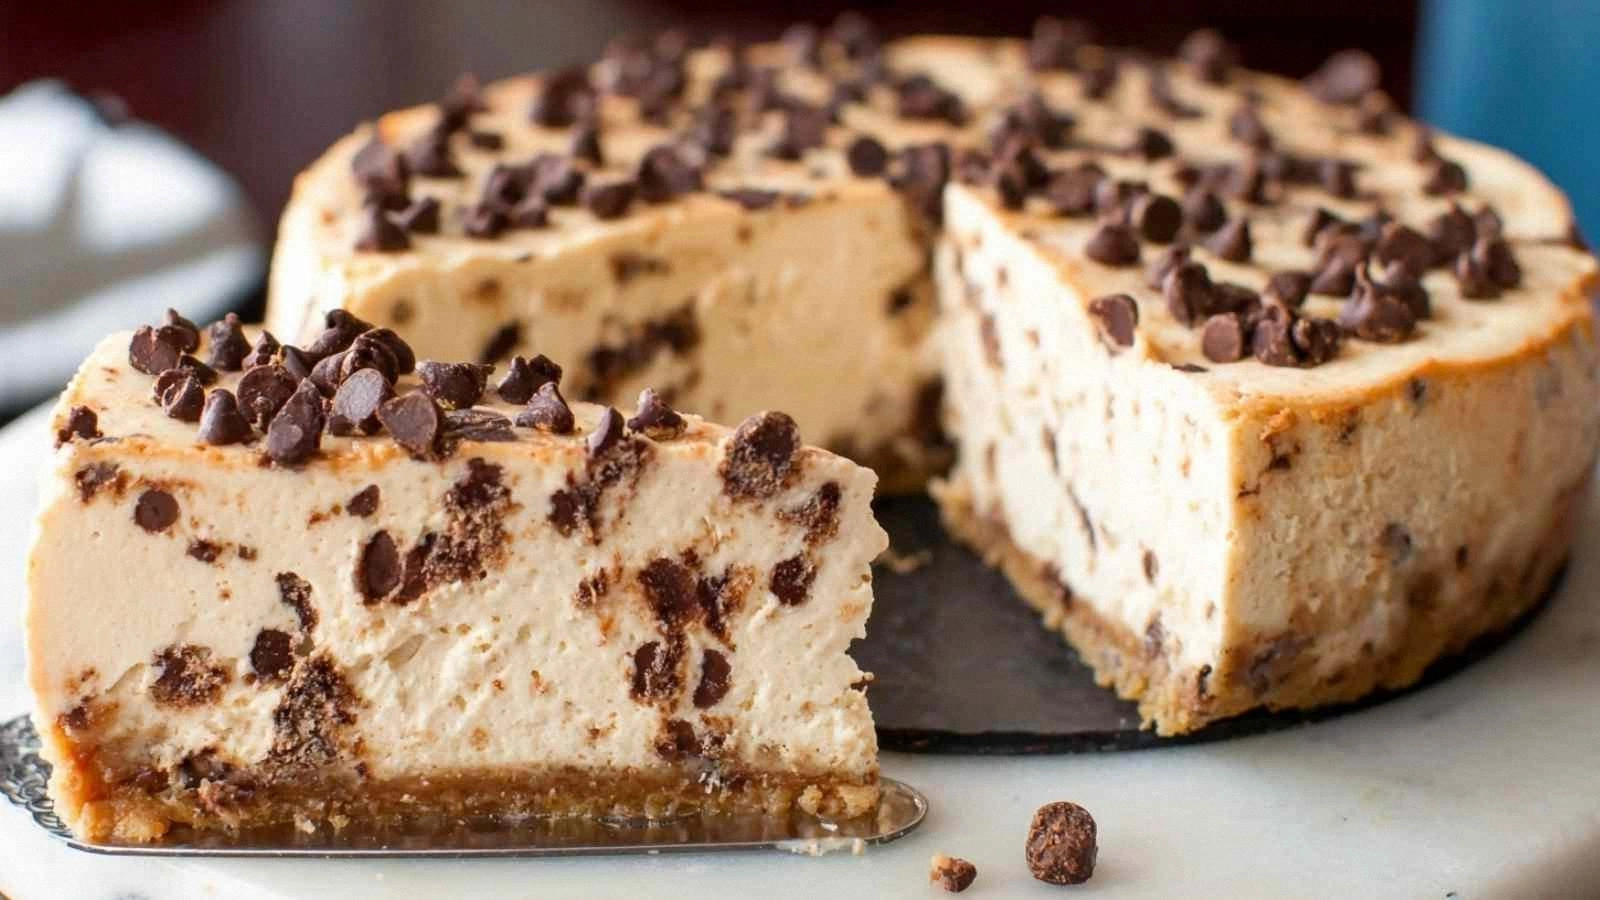
Chocolate Protein Cheesecake
Swap the vanilla protein powder for a chocolate variety and add a tablespoon of cocoa powder to the batter. The result is a rich, fudgy cheesecake that feels like a chocolate cake with a creamy center.
Berry Burst Cheesecake
Fold in a cup of fresh or frozen berries into the filling before baking. The berries release juice that creates a subtle swirl of color and adds a tart contrast to the creamy base.
Mocha Madness
Mix in a tablespoon of instant espresso powder with the protein powder. The espresso adds depth and a slight bitterness that pairs beautifully with the sweetness of the cheesecake.
Almond Joy
Add toasted almond slices to the crust and fold in shredded coconut into the filling. The crunch and nutty flavor make this version a tropical treat.
Peanut Butter Swirl
Swirl a spoonful of natural peanut butter into the batter before baking. The peanut butter creates a marbled effect and adds a savory, nutty flavor that balances the sweetness.
Salted Caramel Delight
Drizzle a caramel sauce over the top after baking and sprinkle sea salt. The caramel adds sweetness, while the salt enhances the overall flavor profile.
Storing and Bringing It Back to Life
Fridge Storage
Store the cheesecake in an airtight container in the refrigerator for up to 5 days. Keep the top covered with parchment paper to prevent it from drying out. Before serving, let it sit at room temperature for 10 minutes to soften slightly.
Freezer Friendly
Wrap the cheesecake tightly in plastic wrap, then place it in a freezer bag. It can be frozen for up to 2 months. Thaw overnight in the refrigerator, then let it rest at room temperature for 20 minutes before serving.
Best Reheating Method
To reheat, place the cheesecake in a preheated oven at 300°F (150°C) for 10 minutes. For a quick refresh, microwave on low for 15 seconds, but be cautious not to overheat. Add a tiny splash of water before reheating—it steams back to perfection.