Picture this: a midnight craving, a half‑finished burrito, and a kitchen that feels more like a battlefield than a sanctuary. I was staring at a half‑cooked chicken breast, a bag of chili powder, and an empty bowl, wondering if I could salvage the evening. The air smelled of burnt garlic from last night’s attempt at homemade salsa, and the only thing left was the promise of a meal that could turn that disaster into a triumph. I reached for the pantry, pulled out every spice that could possibly exist, and dared myself to create a dish that would make my taste buds do the salsa dance. The result? A Mexican Chicken so bold, so layered, that it instantly became the ultimate go‑to for tacos, bowls, or a quick weeknight dinner.
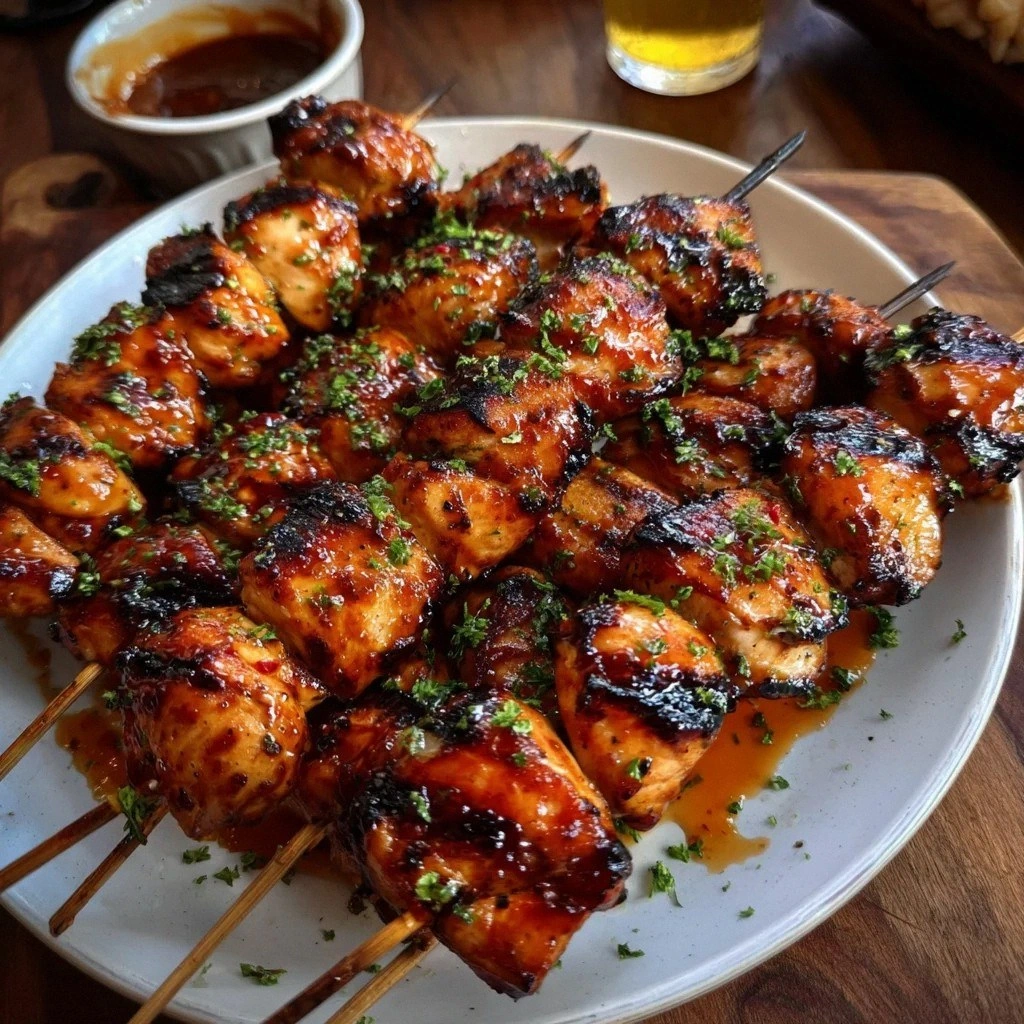
When I first tried this recipe, the chicken hit the pan with a sizzle that sounded like fireworks. The aroma of cumin and smoked paprika rose like a cloud of peppered perfume, and I could taste the bright citrus from the lime even before the first bite. The texture of the meat became a revelation: juicy on the inside, with a crisp, almost caramelized exterior that crackled like thin ice under a spoon. I could not help but grin as I watched the sauce thicken, coating each piece like velvet. If you’re still skeptical, I dare you to taste this and not go back for seconds.
Most people think Mexican chicken is just a remix of taco seasoning, but this version takes that idea and turns it into a symphony. The secret is in the layering of spices, the gentle sear that locks in juices, and the finishing touch of lime that lifts everything to a bright, almost citrusy finish. I’ll be honest — I ate half the batch before anyone else got a chance to try it, and the rest of the kitchen smelled incredible. That smell alone is enough to convince you that this is hands down the best version you’ll ever make at home. And trust me, the first bite will have you shouting, “I can’t believe this is so simple!”
What sets this recipe apart isn’t just the flavor; it’s the technique that preserves moisture while creating a mouth‑watering crust. The chicken is marinated for at least 30 minutes, but the real magic happens when it hits the hot skillet: a quick sear that seals the juices, followed by a finish in the oven that ensures even cooking. The result is a dish that feels like a gourmet meal but can be whipped up in under an hour. Picture yourself pulling this out of the oven, the whole kitchen smelling incredible, and knowing you’ve just created something that will impress even the most discerning foodie.
Let me walk you through every single step — by the end, you’ll wonder how you ever made it any other way. From the first chop of onion to the final squeeze of lime, every action is designed to amplify flavor and texture. I’ll share the tricks that keep the chicken tender, the spices balanced, and the finish bright. And if you’re wondering whether this is a one‑time experiment or a staple, the answer is simple: it’s a staple, ready to be adapted to bowls, tacos, or even a hearty salad. Get ready for a culinary adventure that will become your new kitchen anthem.
What Makes This Version Stand Out
- Flavor Depth: The blend of chili powder, cumin, and smoked paprika creates a smoky, earthy base that’s far more complex than store‑bought taco seasoning. Each spice plays a role, from the heat of the chili to the subtle bitterness of the paprika, culminating in a layered taste that lingers on the palate.
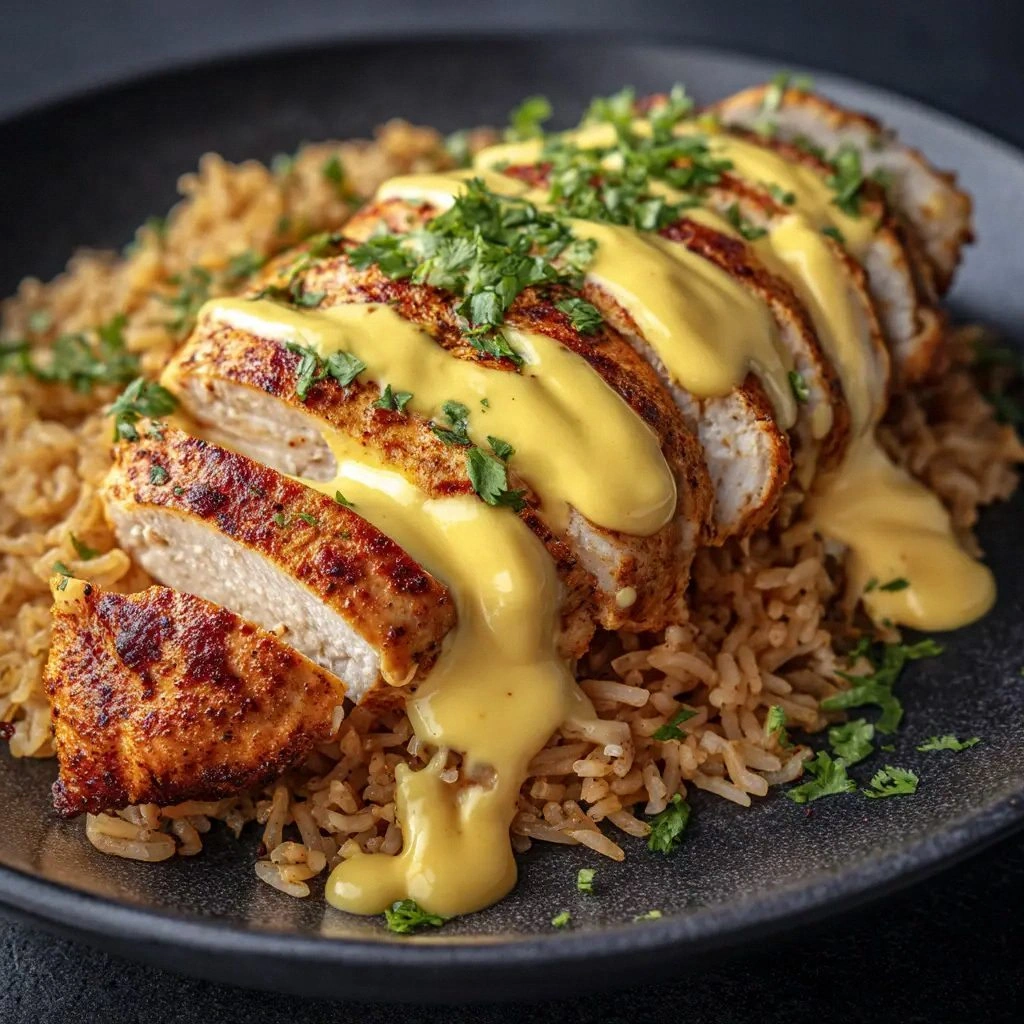
- Texture Contrast: The initial sear locks in moisture, producing a juicy interior, while the oven finish gives a slightly crisp exterior that crunches delightfully with each bite. This duality keeps the dish interesting, preventing it from feeling flat or soggy.
- Simplicity: Despite its depth, the recipe requires only a handful of pantry staples. No elaborate sauces or exotic ingredients are needed, making it accessible to anyone who wants a quick, satisfying meal.
- Ingredient Quality: Using high‑quality, low‑sodium chicken broth and fresh lime juice elevates the dish, ensuring that the flavors aren’t masked by excess salt or artificial additives.
- Make‑Ahead Friendly: The chicken can be marinated overnight, and the finished dish can be reheated without losing its texture, making it perfect for meal prep or busy weeknights.
- Versatility: It works seamlessly in tacos, bowls, salads, or even as a filling for wraps. The recipe’s adaptability makes it a go‑to for any occasion.
- Crowd Reaction: Friends and family often ask for the recipe after the first serving, and the dish consistently earns rave reviews at gatherings.
- Time Efficiency: From prep to plate, you’re looking at under 45 minutes, a win for anyone craving a hearty meal without a long wait.
Alright, let's break down exactly what goes into this masterpiece...
Inside the Ingredient List
The Flavor Base
The heart of this dish lies in the aromatic blend of chili powder, cumin, smoked paprika, oregano, garlic powder, and onion powder. Each spice contributes a unique note: cumin offers earthiness, paprika brings a subtle smokiness, oregano adds herbal brightness, while garlic and onion powders give a savory backbone. Together, they form a robust flavor profile that envelops the chicken. If you skip any of these, the dish loses depth, becoming a flat, one‑dimensional experience. Swap the chili powder for ancho chili flakes if you want a milder heat, or add a pinch of cinnamon for a warm, unexpected twist.
The Texture Crew
Olive oil is the unsung hero that keeps the chicken from drying out during searing. It also helps the spices adhere, creating a flavorful crust. The low‑sodium chicken broth acts as a gentle cooking medium, preventing the meat from becoming tough while infusing subtle savory notes. The lime juice not only adds brightness but also helps tenderize the meat through its natural acidity. If you can’t find low‑sodium broth, use a splash of water and a pinch of salt to keep the flavor balanced.
The Unexpected Star
Black pepper, though often overlooked, adds a gentle heat and a peppery finish that lifts the entire dish. Its aromatic oils release during cooking, creating a fragrant undertone that complements the chili and cumin. If you prefer a more complex pepper profile, try adding a pinch of cayenne or a few crushed red pepper flakes. This small addition can turn the dish from simple to sensational.
The Final Flourish
Fresh lime juice is the finishing touch that brightens the dish and cuts through the richness of the chicken and spices. The acidity balances the smoky flavors and brings a citrusy zing that lingers on the tongue. For a deeper lime flavor, zest a half lime before squeezing the juice; the zest contains essential oils that add a fragrant, slightly bitter note. If you’re not a fan of citrus, a splash of apple cider vinegar can provide a similar brightening effect.
Everything's prepped? Good. Let's get into the real action...
The Method — Step by Step
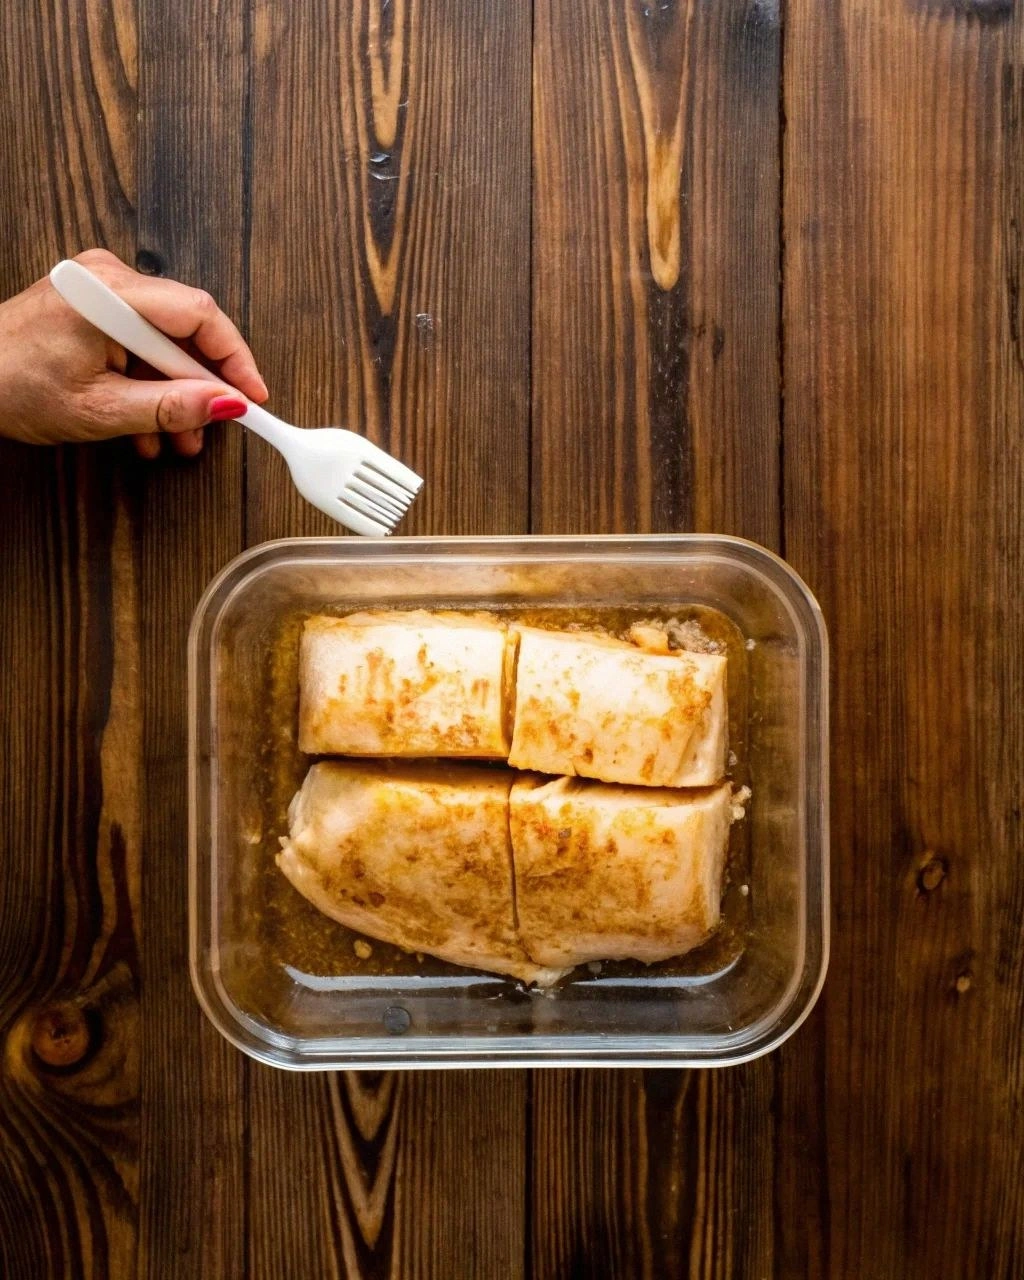
- Begin by cutting the chicken into bite‑sized pieces, about 1.5 inches each. Pat the chicken dry with paper towels; this step is crucial for a good sear. Season the chicken generously with salt, pepper, and the spice blend—chili powder, cumin, smoked paprika, oregano, garlic powder, and onion powder. The spices should coat each piece evenly, creating a flavorful base that will caramelize during cooking.
- Heat a large skillet over medium‑high heat and add the tablespoon of olive oil. Once the oil shimmers, add the seasoned chicken in a single layer, making sure not to crowd the pan. Let the chicken sear undisturbed for 2–3 minutes on each side until it develops a golden crust. This is the moment of truth—watch the edges pull away as the Maillard reaction takes place.
- After searing, pour the low‑sodium chicken broth into the skillet, swirling to deglaze the pan and lift the browned bits. The broth should just touch the bottom of the skillet, not drown the chicken. Reduce the heat to medium, cover, and let the chicken simmer for 8–10 minutes until it’s cooked through and tender.
- Remove the lid and increase the heat to medium‑high. Allow the liquid to reduce until it thickens into a glaze, about 5 minutes. The glaze should coat the back of a spoon and cling to the chicken, adding a glossy, savory finish. If the mixture becomes too thick, add a splash more broth or water to loosen it slightly.
- Stir in the lime juice, letting the acidity brighten the dish and cut through the richness. The lime should coat the chicken evenly, giving it a bright, citrusy sheen. Taste and adjust seasoning if needed—add a pinch more salt or a dash of cumin for extra depth.
- Transfer the skillet to a preheated oven at 400°F (200°C) for 5 minutes to finish the chicken with a final crisp. The oven finish helps the edges become slightly caramelized while keeping the interior moist. Keep an eye on the chicken to avoid over‑browning; you want a subtle, golden crust.
- Remove the skillet from the oven and let the chicken rest for 3 minutes. Resting allows the juices to redistribute throughout the meat, ensuring each bite remains juicy. During this time, the glaze will thicken further, creating a rich coating that clings to every piece.
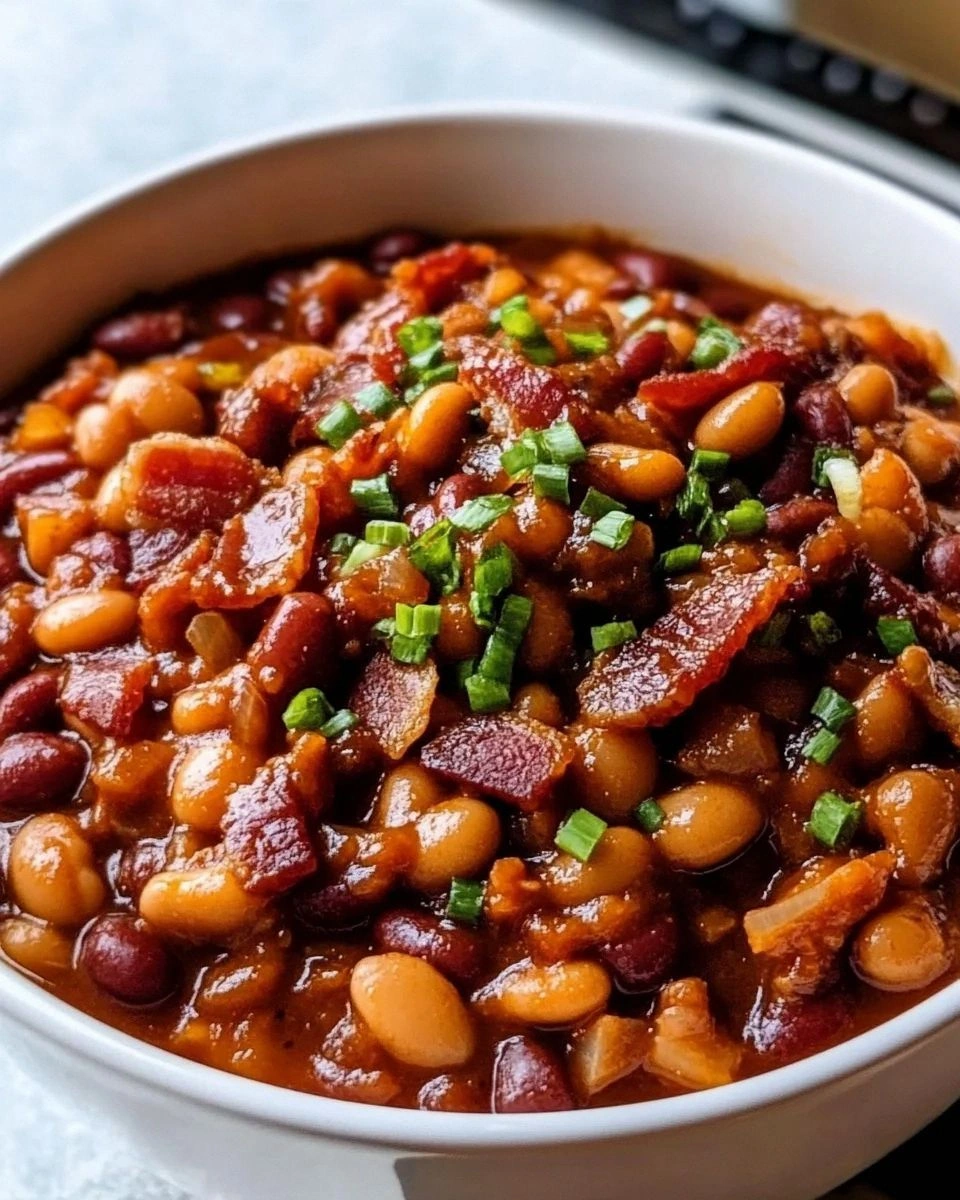
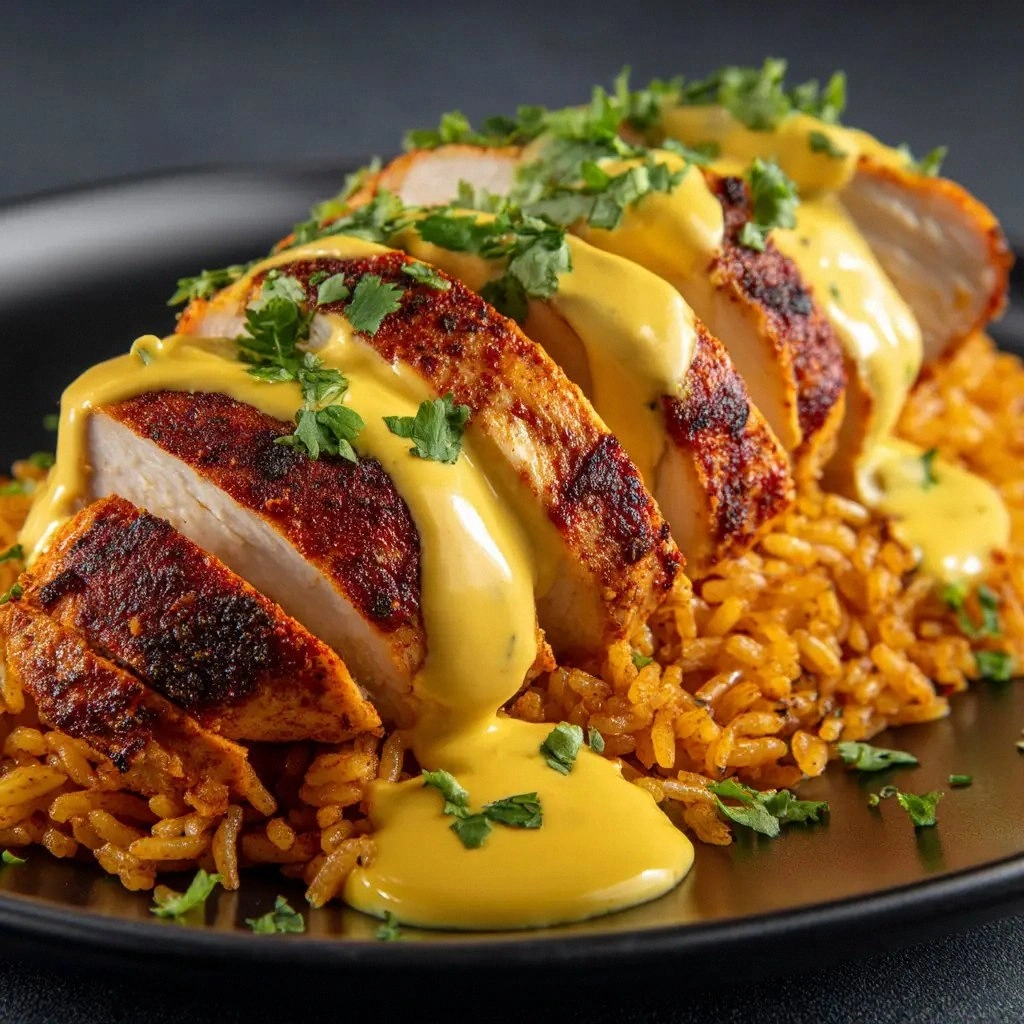
- Serve the chicken immediately over a bed of fluffy rice, fresh lettuce, or warm tortillas. Top with diced tomatoes, avocado, cilantro, and a squeeze of lime for a classic taco experience. If you prefer bowls, add a scoop of quinoa or black beans for a hearty, balanced meal.
- If you’re feeling adventurous, drizzle a spoonful of chipotle crema or a dollop of Greek yogurt for a creamy contrast. The heat from the spices pairs beautifully with the cool, tangy yogurt, creating a harmonious flavor profile. Experiment with different toppings to keep the dish fresh and exciting.
- Enjoy the dish while it’s hot, and let the flavors unfold on your palate. The combination of smoky, spicy, and citrusy notes will transport you straight to a bustling Mexican market. Remember to share the recipe with friends—this dish is so good it’s practically a conversation starter.
- That’s it — you did it. But hold on, I’ve got a few more tricks that will take this to another level. From plating to storage, these tips will help you master every aspect of this dish. Stay tuned for insider knowledge that turns a good meal into an unforgettable experience.
Insider Tricks for Flawless Results
The Temperature Rule Nobody Follows
Many cooks think the higher the heat, the better the sear, but this can backfire. The trick is to start with medium‑high heat for a quick sear, then lower to medium for simmering. This prevents the exterior from burning while the interior remains undercooked. I once tried a high‑heat oven finish and ended up with a rubbery texture—lesson learned the hard way. Keep the temperature moderate to maintain tenderness.
Why Your Nose Knows Best
The aroma that emerges during searing is a real indicator of flavor development. A warm, peppery scent means the spices are releasing their oils, while a faint, almost burnt smell signals you're close to over‑cooking. Trust your nose; if it smells like a fresh spice market, you’re on the right track. I’ve found that stopping the cooking process when the scent hits that sweet spot leads to consistently great results.
The 5-Minute Rest That Changes Everything
After you pull the skillet from the oven, let the chicken rest for exactly five minutes. This small window allows the juices to redistribute, preventing them from spilling out when you cut into the meat. If you skip the rest, the first bite can be dry and unappetizing. Even a quick five‑minute pause makes a noticeable difference in mouthfeel.
Use a Meat Thermometer for Precision
Chicken is best when it reaches an internal temperature of 165°F (74°C). A meat thermometer is a quick, reliable way to check doneness without cutting into the meat. I’ve used a digital probe to ensure the chicken is perfectly cooked every time, especially when I’m cooking for a crowd. This eliminates guesswork and guarantees safety.
Finish with a Splash of Citrus for Brightness
Adding lime juice at the end of cooking is a game‑changer. The acidity not only brightens the dish but also helps break down proteins, enhancing tenderness. A squeeze of lime after the chicken has rested will give a fresh, vibrant finish that cuts through the richness. Don’t wait until after serving; the flavor is best when incorporated just before plating.
Creative Twists and Variations
This recipe is a playground. Here are some of my favorite ways to switch things up:
Chipotle‑Infused Crunch
Swap the lime juice for a splash of chipotle‑adobo sauce and add a handful of crushed tortilla chips as a topping. The smoky heat from the chipotle pairs perfectly with the sweet, citrusy notes of the original recipe. It’s a crowd‑pleaser for parties and potlucks.
Ginger‑Lime Fusion
Add a teaspoon of freshly grated ginger to the spice blend and finish with a splash of fresh lime juice. The ginger adds a zesty, slightly peppery kick that complements the Mexican spices. This variation is especially refreshing during hot summer evenings.
Vegetarian Bowl
Replace the chicken with grilled portobello mushrooms or sautéed tofu. The spices will still cling beautifully, creating a hearty, plant‑based dish that satisfies the same craving. Add a handful of roasted sweet potatoes for extra texture.
Breakfast Kick‑Starter
Serve the chicken over a bowl of scrambled eggs and top with avocado and salsa. The combination of savory chicken, creamy eggs, and fresh toppings makes for a satisfying breakfast that feels like a late‑night lunch.
Slow‑Cooker Edition
Place the seasoned chicken and broth in a slow cooker on low for 4 hours. The long, slow cooking process will create an incredibly tender, melt‑in‑your‑mouth texture. Finish with a quick sear in a hot skillet to re‑crisp the edges before serving.
Spicy Coconut Twist
Replace the chicken broth with coconut milk and add a pinch of curry powder to the spice mix. The coconut milk adds a creamy, slightly sweet base that balances the heat. This version is perfect for those who enjoy a tropical flair in their Mexican dishes.
Storing and Bringing It Back to Life
Fridge Storage
Cool the chicken completely before refrigerating. Store in an airtight container for up to 4 days. The flavors will intensify slightly, giving the dish an even richer taste when reheated.
Freezer Friendly
Pack the chicken in a freezer‑safe bag, removing as much air as possible. Label with the date and freeze for up to 3 months. Thaw overnight in the refrigerator before reheating.
Best Reheating Method
Reheat the chicken in a skillet over medium heat, adding a splash of water or broth to create steam. This keeps the meat moist and prevents drying out. Finish with a quick squeeze of lime to restore that bright, fresh finish.