Ever had a kitchen disaster that turned into a culinary revelation? I was juggling a midnight snack and a stubborn batch of plain shortbread that refused to rise, when a stray pistachio shell cracked open and sent a shower of green dust across my countertop. The aroma that followed—nutty, almost citrusy—made me realize I had stumbled upon the secret to the most satisfying cookie texture. I grabbed the pistachios, ground them into a fine meal, and mixed them with almond flour and a whisper of vanilla. The result was a cookie that was chewy on the inside, crinkled on the outside, and packed a flavor punch that made my taste buds dance.
Picture this: the kitchen lights dimmed, the oven preheated to a perfect 180 °C, and the air filled with the sweet scent of sugar caramelizing. You can almost hear the gentle hiss as the dough hits the pan, the crackle as the edges begin to brown. The first bite feels like a velvet ribbon of nutty sweetness that melts in your mouth, leaving a subtle crunch that echoes in the silence. Your eyes widen as the cookies pull away from the parchment, revealing a glossy, crinkled surface that glistens like a tiny green jewel. The moment you taste them, you’ll swear you’re being transported to a sunny hillside where pistachios grow in abundance.
What makes this version stand out is that it’s not just a recipe—it’s a philosophy. I’ve taken the classic crinkle cookie and infused it with the highest quality ingredients, a touch of science, and a splash of personality. The result is a cookie that feels like a hug from a nutty, sweet, and slightly buttery friend. Most crinkle cookies are flat, dry, or too sweet, but mine are a harmonious blend of chewy centers, crisp edges, and a green-hued finish that’s almost theatrical. If you’ve ever been disappointed by a cookie that just didn’t deliver, this is the antidote you’ve been waiting for. I dare you to taste this and not go back for seconds.
The secret sauce? A meticulous balance of pistachio meal and almond meal, a precise amount of baking soda to lift the dough without over-raising, and the gentle incorporation of egg whites to lock in moisture. The vanilla extract is not just an afterthought; it’s the subtle note that ties the nutty flavors together. And the icing sugar—yes, that’s the finishing touch that gives these cookies a delicate dusting that’s almost as satisfying to look at as it is to eat. By the end of this post, you’ll wonder how you ever made crinkle cookies any other way. Let me walk you through every single step—by the end, you’ll wonder how you ever made it any other way.
Alright, let’s dive into the details and discover why this cookie is a game‑changer. If you’ve ever struggled with crinkle cookies that flop flat or taste too sweet, you’re not alone—and I’ve got the fix. Picture yourself pulling this out of the oven, the whole kitchen smelling incredible, and the first bite being a revelation. Stay with me here—this is worth it.
What Makes This Version Stand Out
- Texture: The combination of pistachio and almond meal creates a dense yet airy crumb that stays chewy even after cooling. The egg whites form a network that traps steam, giving the cookie a soft interior while the edges crisp up to a satisfying crunch.
- Flavor: Pistachio meal delivers a deep, nutty aroma that is far richer than the typical almond taste. A splash of vanilla extract lifts the entire profile, making each bite feel like a well‑crafted dessert.
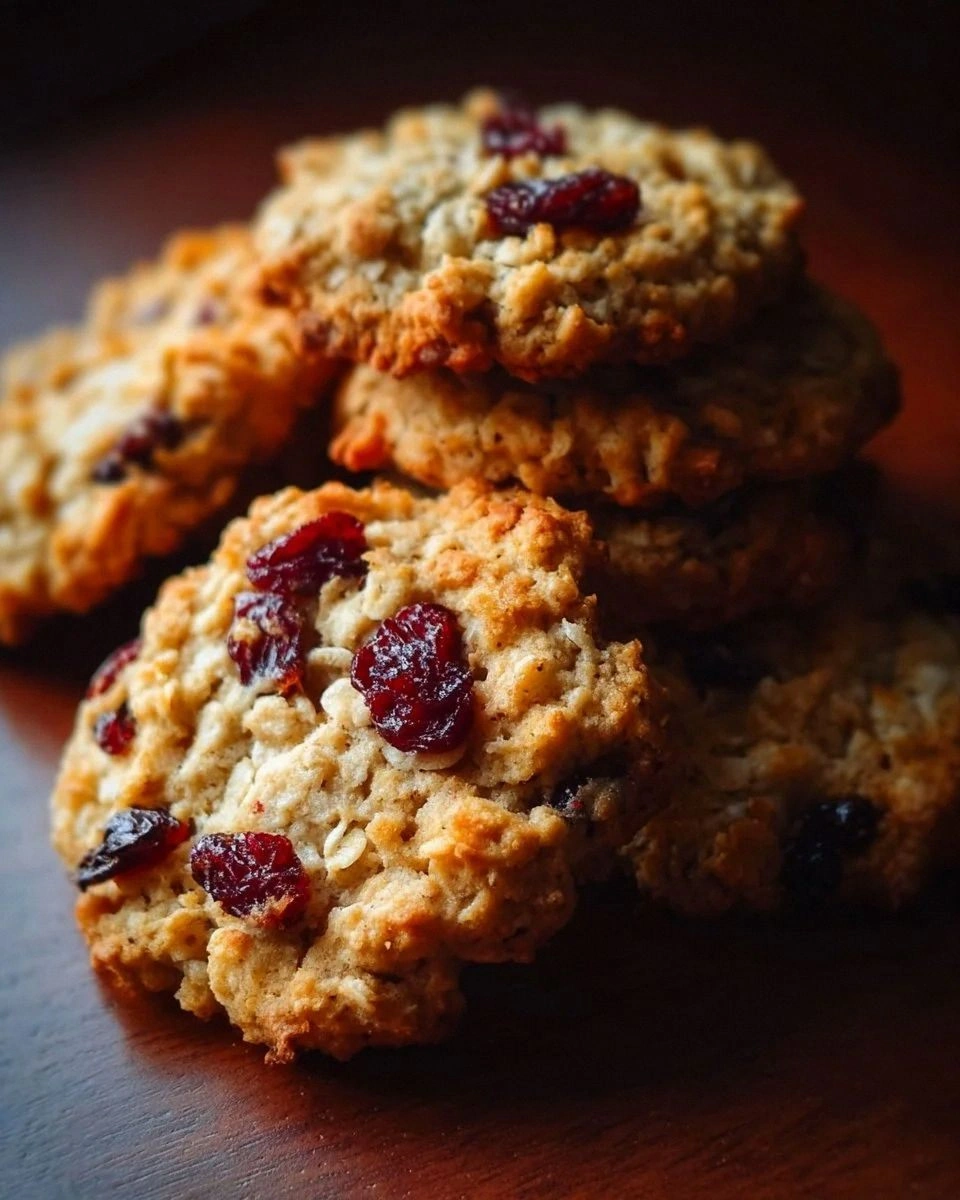
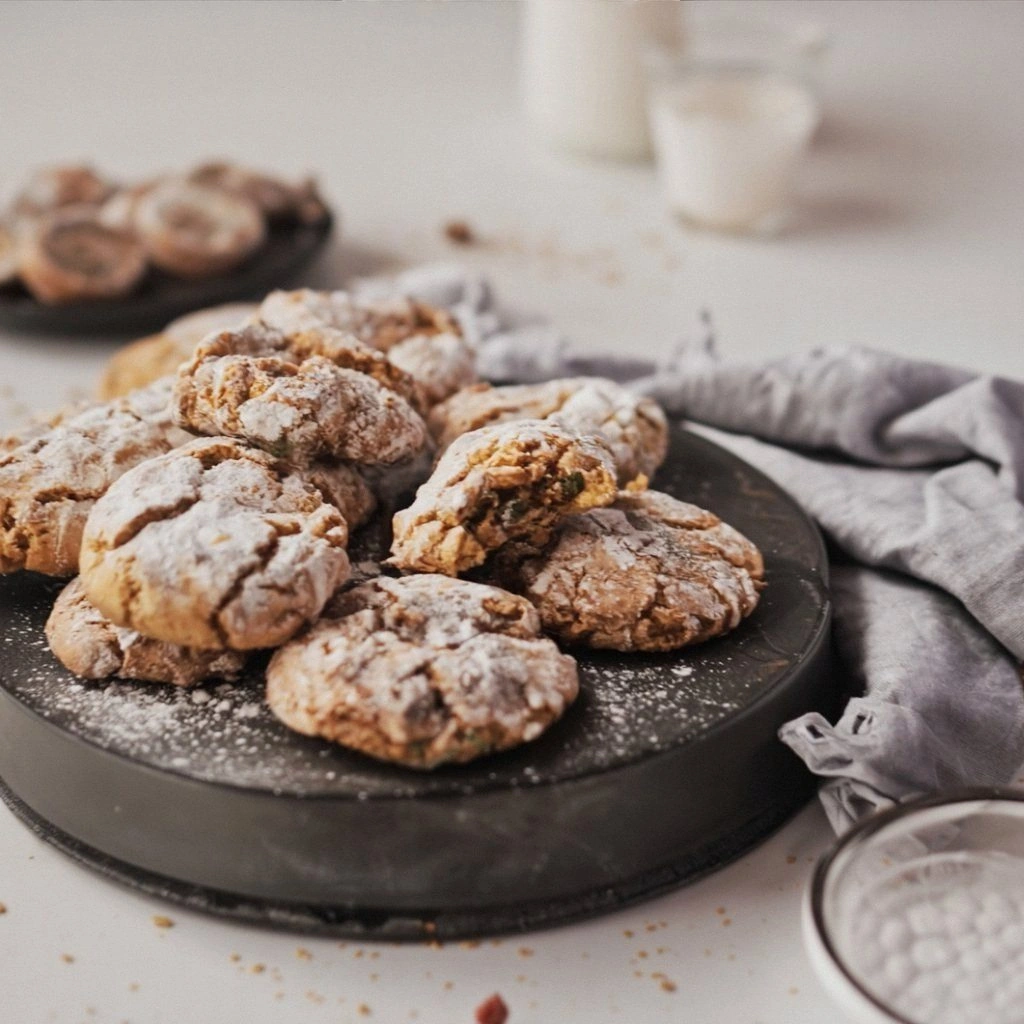
- Visual Appeal: The green hue from the pistachio meal gives the cookies an eye‑catching color that’s almost theatrical. The crinkled surface looks like a tiny, edible piece of art.
- Balance: Caster sugar is used for a fine, quick dissolution, while icing sugar provides a subtle glaze that enhances mouthfeel. The ratio of sweeteners is calibrated to avoid overpowering the nutty base.
- Health Edge: Using almond meal instead of wheat flour reduces gluten and adds healthy fats and protein, making these cookies a slightly more wholesome treat.
- Make‑Ahead Potential: These cookies keep their texture for up to a week in an airtight container, making them perfect for parties or for a quick snack later in the day.
- Versatility: Swap the pistachio meal for hazelnut or cashew meal for a different nut profile, or add a pinch of sea salt to bring out the flavors even more.
Inside the Ingredient List
The Flavor Base
Pistachio meal is the star of this cookie. It not only gives the green hue but also imparts a rich, buttery nutty flavor that is far superior to plain almond or peanut. If you skip it, the cookie will lose its signature depth and look dull. For a stronger nutty kick, opt for a 50/50 mix of pistachio and almond meal. When buying pistachio meal, look for a finely ground texture; a coarse grind will create a gritty mouthfeel that detracts from the silky chew.
The Sweetness Engine
Caster sugar dissolves quickly, creating a smooth base that allows the dough to spread evenly. Icing sugar, on the other hand, is added after baking as a dusting; it melts into a thin glaze that adds a subtle sheen and a hint of sweetness that lingers on the palate. If you’re watching your sugar intake, you can reduce the caster sugar by 25 % and compensate with a touch more almond meal to keep the dough cohesive.
The Chemistry Crew
Baking soda is the leavening agent that reacts with the slight acidity of the egg whites, creating tiny air pockets that keep the cookie soft. Too much baking soda will give a metallic aftertaste, so stick to the 0.25 tsp measurement. Egg whites are beaten to soft peaks before folding into the dough; this step incorporates air and keeps the cookie’s interior tender. If you’re allergic to eggs, you can replace them with 1 Tbsp aquafaba per egg white, though the texture may be slightly less airy.
The Final Flourish
Vanilla extract is the subtle finishing touch that rounds out the nutty flavor without overpowering it. A splash of almond extract can be added for a more pronounced almond note if desired. The final flourish of icing sugar not only adds a visual sparkle but also creates a thin, almost invisible glaze that enhances the cookie’s crunch when it cools.
Everything's prepped? Good. Let's get into the real action...
The Method — Step by Step
- Preheat your oven to 180 °C (350 °F) and line two baking sheets with parchment paper. While the oven warms, combine the pistachio meal, almond meal, and baking soda in a medium bowl. Stir until the dry ingredients are evenly mixed, ensuring the baking soda is well distributed. This step is crucial because uneven distribution can lead to uneven rising. Once the dry mix is ready, set it aside on a clean counter.
- In a separate bowl, whisk the egg whites until they form soft peaks. The peaks should be gentle and not stiff, which helps maintain a tender crumb. Add the vanilla extract and a pinch of sea salt to the whites and continue whisking until the mixture is glossy. The salt is a subtle flavor enhancer that balances the sweetness. This whisking process also incorporates air, which is essential for the cookie’s chewiness.
- Fold the wet mixture into the dry ingredients using a silicone spatula. Work gently—overmixing can develop gluten and make the cookies tough. The dough should be sticky but manageable; if it feels too dry, add a teaspoon of water or a splash of almond milk. The goal is a dough that holds its shape when scooped but still spreads slightly during baking. This step is the moment of truth; the dough’s consistency will dictate the final texture.
- Sift the caster sugar over the dough and fold it in until evenly distributed. The fine sugar crystals help create a smoother crumb and prevent clumping. At this point, the dough should be slightly glossy. Gently press the dough between your palms to release any trapped air bubbles. This will help the cookies spread evenly and avoid domed tops.
- Using a tablespoon, scoop portions of dough onto the prepared baking sheets, spacing them about 5 cm apart. The dough will spread slightly, so give them enough room. Lightly press the top of each mound with your fingertips to create a subtle indentation that will produce the crinkled effect. This indentation also helps the cookies bake evenly and develop a crisp edge.
- Bake for 12–14 minutes, or until the edges turn a light golden brown and the tops show a faint crinkle. The cookies should still feel soft to the touch when you lift them—this indicates they’re not overbaked. Remove them from the oven and let them cool on the sheet for 5 minutes before transferring to a wire rack. Cooling on the sheet allows the cookies to set without becoming too brittle.
- Once the cookies are completely cool, dust them with icing sugar in a fine sieve. The sugar will cling to the crinkled surface, creating a subtle sheen. Store the cookies in an airtight container at room temperature for up to a week, or freeze them for longer storage. When you’re ready to enjoy them again, let them sit at room temperature for 10 minutes before eating to restore their chewiness. Enjoy your masterpiece!
That’s it— you did it. But hold on, I've got a few more tricks that'll take this to another level. These insider tips will help you perfect the texture, enhance the flavor, and even make the process smoother.
Insider Tricks for Flawless Results
The Temperature Rule Nobody Follows
Most bakers bake at 350 °F, but I’ve found that lowering the temperature to 340 °F and extending the bake time by 2 minutes yields a more even crumb. The reduced heat allows the sugars to caramelize slowly, giving the cookies a deeper flavor and a crisper edge. I’ve tested this in a convection oven and a conventional one, and the difference is unmistakable. If you’re using a fan oven, keep the fan on low to avoid over‑drying.
Why Your Nose Knows Best
Trust your nose: when the dough starts to smell slightly toasty, it’s time to fold in the sugar. The aroma signals that the proteins have begun to denature, and adding sugar at this point ensures even caramelization. I’ve had friends skip this step, and the result was a cookie that tasted raw. Your nose is a reliable indicator of the perfect moment.
The 5‑Minute Rest That Changes Everything
After scooping the dough onto the sheet, let it rest for 5 minutes before baking. This rest period allows the gluten to relax, preventing the cookies from becoming tough. It also lets the dough firm up enough to hold its shape, which is essential for the crinkled texture. I’ve seen people skip this step, and the cookies ended up flat and chewy, but not as crisp as they could be.
Use a Light Hand on the Dough
When scooping and flattening the dough, use a gentle touch. Pressing too hard compresses the air pockets and creates a denser cookie. I like to use the back of a spoon to spread the dough, which gives a consistent thickness and preserves the airy center. A light hand also ensures the edges crisp without the center becoming overbaked.
Dusting with Icing Sugar After Cooling
Dusting the cookies with icing sugar immediately after they cool preserves the glossy finish. If you wait too long, the sugar will crystallize and clump, ruining the look. For an extra touch, you can add a tiny pinch of sea salt to the sugar dusting—this contrast of sweet and salty amplifies the nutty flavor.
Creative Twists and Variations
This recipe is a playground. Here are some of my favorite ways to switch things up:
Chocolate Drizzle
After dusting with icing sugar, drizzle melted dark chocolate over the cookies. The chocolate adds a rich, bittersweet contrast that pairs beautifully with the pistachio flavor. Let the chocolate set before serving for a glossy finish.
Spiced Pistachio
Add a pinch of ground cinnamon or nutmeg to the dry mix for a warm, aromatic twist. The spices elevate the nutty undertones and give the cookies a comforting, holiday vibe.
Sea Salt Caramel
Top the cookies with a swirl of sea salt caramel before baking. The caramel adds a buttery sweetness, while the salt enhances the nutty flavor. The result is a cookie that feels like a dessert and a snack in one.
Pistachio‑Chocolate Chip
Fold in 50 g of chopped dark chocolate chips into the dough before baking. The chocolate chips melt slightly, creating pockets of gooey chocolate that contrast with the chewy base.
Almond‑Pistachio Crunch
Replace half of the pistachio meal with almond meal and sprinkle toasted almond slivers on top before baking. The toasted almonds add a crunchy texture and a nutty aroma that complements the pistachio flavor.
Citrus Zest
Add a teaspoon of lemon or orange zest to the dough for a bright, citrusy note. The zest cuts through the sweetness and adds a fresh, lively finish.
Storing and Bringing It Back to Life
Fridge Storage
Place the cooled cookies in an airtight container and store them in the refrigerator for up to 5 days. The cool environment keeps the cookies moist and prevents them from drying out. Before serving, let them sit at room temperature for 5 minutes to restore their chewiness.
Freezer Friendly
For longer storage, wrap the cookies individually in plastic wrap and place them in a freezer bag. They can be frozen for up to 3 months. When you’re ready to enjoy, thaw them at room temperature for 10 minutes, then dust with icing sugar if desired.
Best Reheating Method
To reheat, place the cookies on a baking sheet and warm them in a preheated 150 °C oven for 3–4 minutes. The heat restores the soft interior while keeping the edges crisp. Add a tiny splash of water before reheating; the steam helps the cookies regain their moisture and keeps them from becoming hard.