Picture this: it’s a rainy Tuesday, the kind that forces you to stay indoors and your pantry to become your playground. I was rummaging through the back of the fridge, half hoping to find a last‑minute pizza crust, and half hoping to salvage the beef stew that had been simmering for hours. The result? A sizzling, aromatic mess of browned beef, cumin, and a splash of salsa that smelled like a fiesta in a pot. I dared myself to turn that disaster into something that would make everyone in the house ask for seconds. That was the spark that led me straight to the Keto Beef Tamale Pie.
I’ve always loved tamales for their comforting layers and the way the corn dough hugs the filling like a warm blanket. But the classic version? Too heavy, too carb‑laden, and a lot of time-consuming wrappers. I wanted something that could be assembled in a single pan, baked to perfection, and still deliver that nostalgic flavor without the guilt. The answer was simple: replace the corn masa with a low‑carb, cheese‑based crust and let the beef do the heavy lifting.
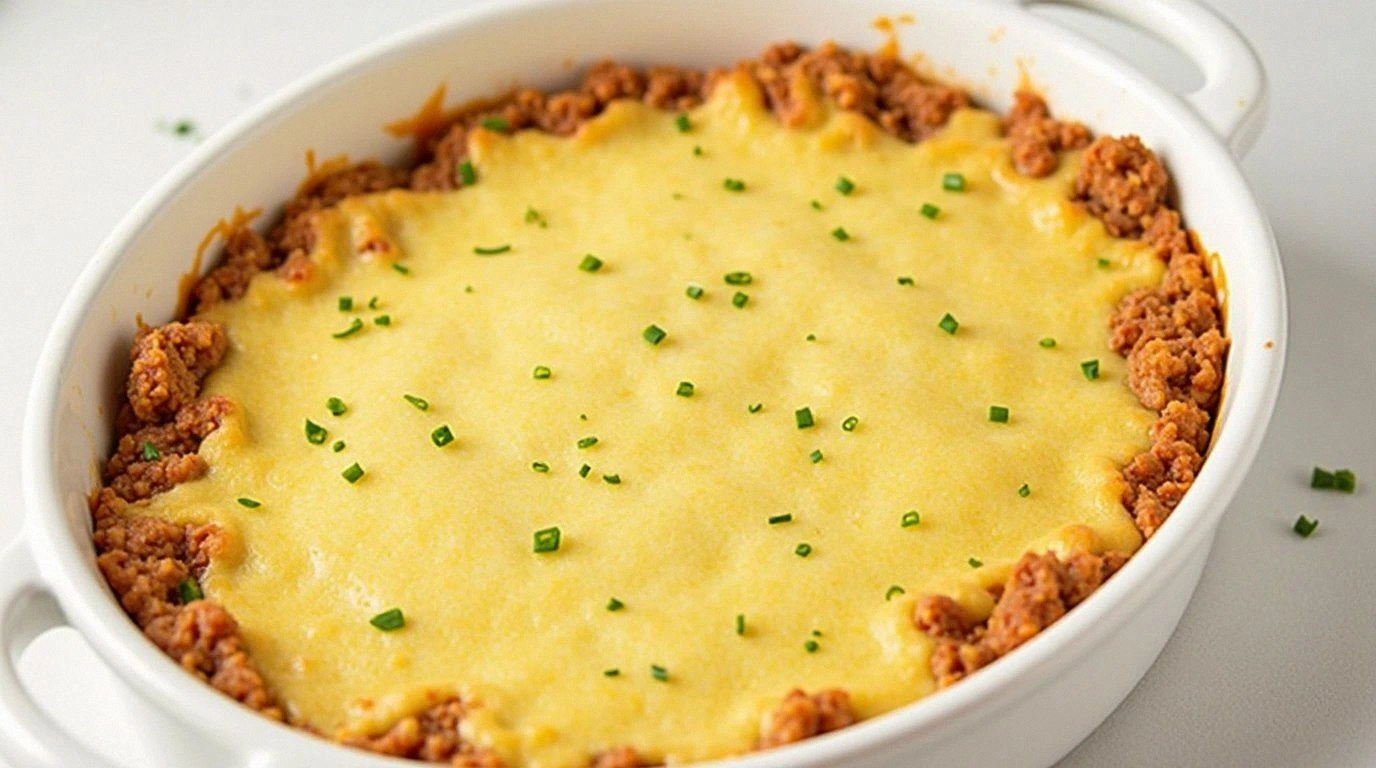
The moment the pie hit the oven, the kitchen filled with the savory scent of caramelized onions and melted cheddar. The golden crust crackled like a crisp tortilla, and the steam rising from the top hinted at the spicy, tangy salsa bubbling beneath. That aroma alone was enough to convince even the most skeptical of us that this was hands down the best version you’ll ever make at home.
Let me walk you through every single step — by the end, you’ll wonder how you ever made it any other way.
What Makes This Version Stand Out
- Flavor: The blend of cumin, chili powder, and smoked paprika creates a depth that’s reminiscent of a slow‑cooked mole, but in just minutes.
- Texture: The cauliflower rice adds a subtle crunch, while the cheese base provides a gooey, melty finish that mimics a traditional tamale crust.
- Speed: From prep to plate, you’re looking at less than an hour, which is perfect for a weekday dinner.
- Low‑Carb: With only 30g of carbs per serving, this pie fits snugly into any ketogenic plan.
- Make‑Ahead: Assemble the pie, refrigerate, and bake when you’re ready—ideal for meal‑prep enthusiasts.
- Versatility: Swap the beef for ground turkey, pork, or even a plant‑based protein without losing the magic.
- Crowd‑Pleaser: The cheesy, spicy layers are a hit with both kids and adults alike.
- Ingredient Quality: Using high‑quality cheddar and fresh salsa elevates the dish from ordinary to extraordinary.
Alright, let's break down exactly what goes into this masterpiece...
Inside the Ingredient List
The Flavor Base
Ground beef is the heart of this pie, and I use a 80/20 blend for the perfect balance of juiciness and fat. The cumin and chili powder bring warmth, while smoked paprika adds a subtle smokiness that lingers on the palate. A pinch of garlic and onion powder rounds out the seasoning profile, ensuring every bite is bursting with savory notes.
The Texture Crew
Cauliflower rice provides a low‑carb, grain‑free alternative to traditional masa, giving the filling a light, fluffy texture that still holds together. The shredded cheddar and mozzarella work together to create a creamy, melty layer that crisps up into a golden crust when baked.
The Unexpected Star
Salsa is the secret ingredient that injects a bright, tangy punch into the dish. It also helps keep the beef moist and adds a subtle kick that contrasts beautifully with the rich cheeses. If you’re not a fan of salsa, a splash of diced tomatoes or a spoonful of tomato paste will suffice.
The Final Flourish
Olive oil is used to sauté the onions, giving them a caramelized sweetness that enhances the overall flavor. A splash of fresh lime juice, added just before serving, brightens the dish and cuts through the richness of the cheese. A handful of chopped cilantro or fresh parsley adds a burst of color and a hint of freshness that completes the presentation.
Everything's prepped? Good. Let's get into the real action...
The Method — Step by Step
- Preheat your oven to 375°F (190°C). While the oven warms, gather all the ingredients and set them out on the counter. This prep step is critical because it lets you focus on the cooking without rushing later.
- Heat a large skillet over medium heat and add one tablespoon of olive oil. Once the oil shimmers, toss in the quarter cup of chopped onions. Sauté until the onions turn translucent and slightly caramelized, which should take about 3–4 minutes. The onions add a sweet, aromatic base that anchors the rest of the flavors.
- Add the pound of ground beef to the skillet. Break the meat apart with a wooden spoon and cook until it’s browned and no longer pink. This step is the moment of truth; if you leave the beef undercooked, the texture will suffer. Drain any excess fat to keep the dish from becoming greasy.
- Stir in one teaspoon of cumin, one teaspoon of chili powder, half a teaspoon of smoked paprika, a quarter teaspoon of garlic powder, and a quarter teaspoon of onion powder. Cook for an additional minute so the spices toast and release their oils. The aroma at this point will make you want to grab a napkin—trust me, you’ll need one.
- Pour in half a cup of salsa and stir to combine. Let the mixture simmer for 5 minutes, allowing the flavors to meld. The salsa not only adds moisture but also gives the dish a vibrant, tangy edge that keeps the beef juicy.
- Add one cup of cauliflower rice to the skillet, stirring until it’s evenly distributed. Cook for another 3 minutes so the cauliflower absorbs some of the juices. This is where the texture shifts from chunky to a more cohesive, tamale‑like consistency.
- Remove the skillet from heat and fold in one cup of shredded cheddar and one cup of shredded mozzarella. The cheeses should melt into a silky sauce that coats every bite. If the mixture looks a bit dry, add a splash of milk or beef broth to loosen it up.
- Transfer the beef and cheese mixture to a greased 9×13 inch baking dish. Spread it out evenly so every bite gets a generous portion of filling. This step is crucial; uneven distribution can lead to dry spots.
- Top the dish with the remaining shredded cheddar and mozzarella, creating a thick, golden crust. The cheese not only adds flavor but also creates a satisfying crunch when baked. This is the moment you’ll see the pie transform into a golden, bubbly masterpiece.
- Bake in the preheated oven for 20–25 minutes, or until the cheese on top is golden brown and the edges begin to pull away from the dish. The pie should emit a delightful aroma that will fill your kitchen with an irresistible scent.
- Remove from the oven and let it rest for five minutes before slicing. This resting period allows the flavors to settle and the cheese to set, preventing a runny mess when you cut into it. Serve hot, garnished with fresh cilantro or a squeeze of lime if you like a little extra zing.
That's it — you did it. But hold on, I've got a few more tricks that'll take this to another level...
Insider Tricks for Flawless Results
The Temperature Rule Nobody Follows
Many cooks bake at a high heat and then lower the temperature midway, but for this pie, sticking to a steady 375°F is key. The consistent heat ensures the cheese melts evenly without burning the bottom. If you’re using a convection oven, reduce the temperature by 25°F to avoid over‑browning.
Why Your Nose Knows Best
Before you even taste the finished pie, close your eyes and inhale the aroma. If it smells slightly caramelized, the onions are just right. If it’s too raw, give it a minute longer. Your nose is a reliable guide for judging doneness without opening the oven door.
The 5-Minute Rest That Changes Everything
Letting the pie rest is not just a courtesy; it allows the cheese to set, making slicing cleaner. A quick test: press the center with a finger; if it feels firm, you’re ready. This small pause prevents the filling from spilling out like a melted lava flow.
Cheese Layering Secrets
For an extra crispy top, sprinkle a handful of shredded pepper jack or smoked gouda over the final cheese layer before baking. The additional fat content creates a golden crust that’s both crunchy and melty.
Spice Balance Tweaks
If you prefer a milder dish, reduce the chili powder by half and add a pinch of cumin to compensate. Conversely, for a heat‑seekers, double the smoked paprika and add a diced jalapeño to the salsa. The key is to taste as you go; small adjustments yield big flavor differences.
Creative Twists and Variations
This recipe is a playground. Here are some of my favorite ways to switch things up:
Mexican Street Taco Pie
Swap the salsa for a smoky chipotle sauce, add diced bell peppers, and top with crumbled queso fresco. This version leans into the street food vibe, with a tangy, spicy kick that’s perfect for summer evenings.
Cheesy Broccoli Spin
Incorporate steamed broccoli florets into the beef mixture for added crunch and a pop of green. The broccoli pairs beautifully with the cheddar, creating a veggie‑filled, keto‑friendly twist.
Spicy Jalapeño Kick
Dice fresh jalapeños and fold them into the filling. The heat will linger even after the cheese melts, offering a lingering spicy aftertaste that keeps guests coming back for more.
Coconut Curry Twist
Replace the salsa with a light coconut‑based curry sauce, add curry powder, and finish with a sprinkle of fresh cilantro. This variation brings a tropical flavor profile that’s unexpected yet delicious.
Greek Yogurt Cream Topping
Serve the pie with a dollop of Greek yogurt mixed with lemon zest and dill. The yogurt’s tang balances the richness, while the dill adds a fresh herbal note that cuts through the heaviness.
Vegan Swap
Use plant‑based ground beef or crumbled tempeh, vegan cheddar, and a dairy‑free cheese alternative. The flavors remain intact, and the texture stays satisfying, making the dish inclusive for all dietary preferences.
Storing and Bringing It Back to Life
Fridge Storage
Cool the pie completely, then cover tightly with foil or plastic wrap. Store in the refrigerator for up to 3 days. The flavors will deepen, and the cheese will firm up, making it even easier to slice.
Freezer Friendly
Wrap the cooled pie in heavy‑weight freezer paper and place it in an airtight container. Freeze for up to 2 months. When ready to reheat, thaw in the fridge overnight and bake at 350°F for 15–20 minutes.
Best Reheating Method
Reheat the pie in a preheated oven at 350°F until the cheese is bubbling again. Add a splash of water to the bottom of the dish before reheating; this creates steam that keeps the filling moist and restores the original texture.